Table of Contents
Installing Code::Blocks
For this course, we will be using the Code::Blocks IDE along with the GCC 4.8.1 (or more recent) compiler.
Requirements
Windows
Code::Blocks and the GCC 4.8.1 compiler is known to work well on Windows 7, Windows 9, and Windows 10. Specific notes on installing Code::Blocks on Windows appear below.
Linux
Most Linux distributions have a Code::Blocks package. You should use your package manager to install it. However, be aware of the following minimum distribution requirements:
- Ubuntu: 14.04 or newer
- Debian: Jessie or newer
- Mint: Petra or newer
- openSuse: 13.2 or newer
- Fedora: 20 or newer
After installing, jump to After installing.
MacOS
There is a version of Code::Blocks for MacOS, but it is claimed to be buggy. In addition, I don't know if it supports C++11 (the version of C++ used in this course). You might be better off with Eclipse CDT or Xcode, but I don't know what is involved in making either C++11 compliant.
Installing on Windows
Download codeblocks-13.12mingw-setup-TDM-GCC-481.exe from the Code::Blocks Download binary page.
Be sure you download codeblocks-13.12mingw-setup-TDM-GCC-481.exe. Do not download codeblocks-13.12-setup.exe or codeblocks-13.12mingw-setup.exe.
The download links are on the right. The last time I tried, the BerliOS link wasn't working, but the Sourceforge.net link worked fine.
After downloading, double click the installer to start the installer. Accept all the defaults and install Code::Blocks.
In the unlikely event that you have a previous Code::Blocks installation (or you have installed the MinGW compiler for other purposes), you will have to completely uninstall the previous Code::Blocks version, delete C:\Program Files\MinGW, and remove C:\MinGW\bin and C:\MinGW\MSYS\1.0\bin from your PATH before installation.
After installing
Set the default compiler
You may have more than one compiler installed on your computer. To keep you from having to manually set the proper compiler each time you start a new project, verify that the desired compiler is set as the default by doing the following:
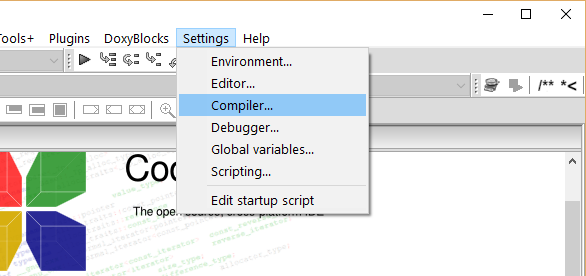
- Go to Settings > Compiler…

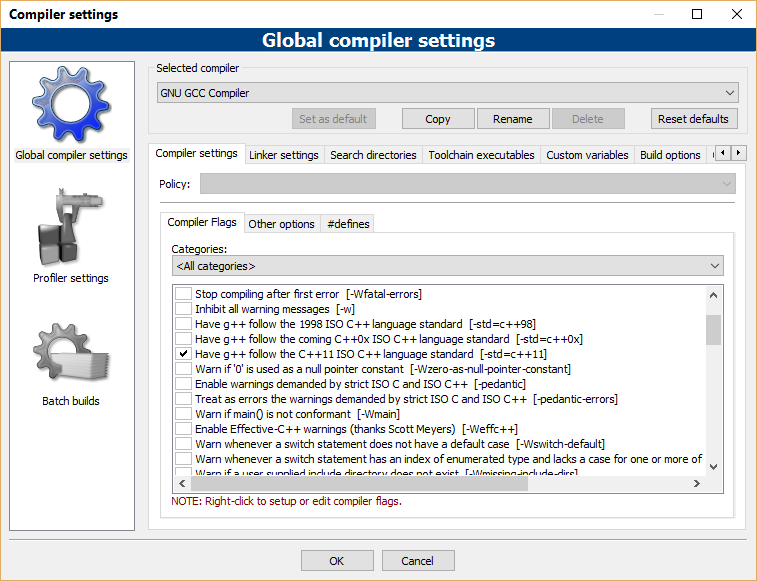
- Make sure the Compiler settings tab is active.
- Select “GNU GCC Compiler” under Selected compiler if it is not already selected.
- If the Set as default button is active (i.e., not greyed out), click on it to make GNU GCC Compiler the default.
- On Windows, click on the “Toolchain executables” tab and confirm that Compiler's installation directory is set to either
C:\Program Files\CodeBlocks\MinGWorC:\Program Files (x86)\CodeBlocks\MinGW. On Linux, this field will probably be set to/usr, meaning that it will use the system-provided GNU GCC tools.
Set the compiler to use C++11 standards
Do not skip this step! If you do, you will encounter various hard-to-diagnose problems later in the course.
There are several official (as well as unofficial) versions of C++ in common use. We will be learning C++11, which is a relatively new standard. Code::Blocks needs to be told that you want to use this version of C++ rather than an older one.
To do this:
- Go to Settings > Compiler…
- Make sure the Compiler settings tab is active.
- Find Have g++ follow the C++11 ISO C++ language standard [-std=c++11], check it, and click “OK”.
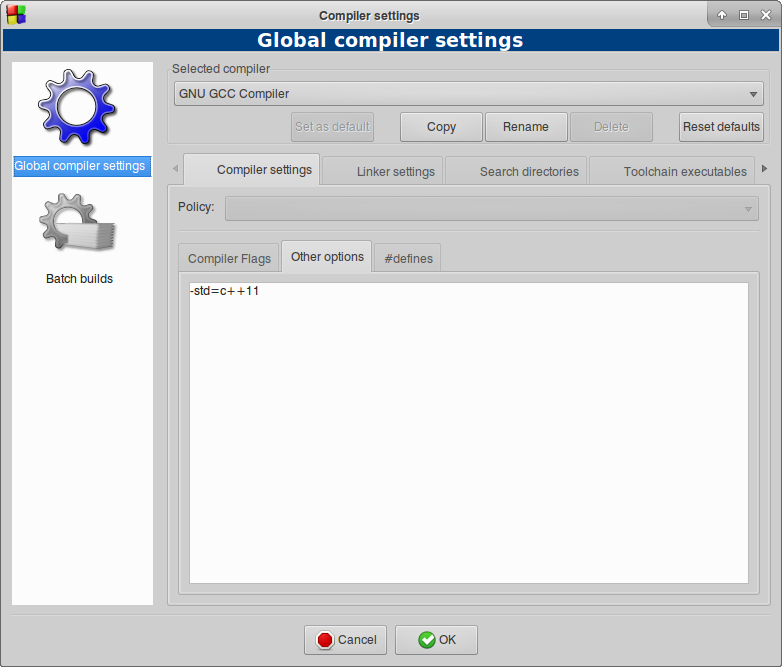
On some Linux systems, you might not see any options under Settings > Compiler > Global compiler settings > Compiler settings. If this is the case, open the Other options tab and add-std=c++11to the text area and click “OK”.
Testing your installation
Create a project
- Launch Code::Blocks
- When the main Code::Blocks window opens, click the “Create a new project” link.
- In the dialog box, select “Console application” and then click the “Go” button.
- Click “Next”
- When asked to choose between C or C++, select C++ and click the “Next” button.
- On the next dialog box, enter a name for your project (letters and numbers only, no spaces). If you want to create your project someplace other than the indicated directory, click the “…” button an navigate to the desired directory. Click the “Next >” button.
- Accept all the defaults on the next dialog and click “Finish”.
The project you just created should open. You can see the source code for the project if you expand {name-of-the-project} and “Sources”. (Make sure the “Projects” tab is selected in the left panel.) Double click on main.cpp to open it in the editor.
Run the project
- From the menu bar, select Build > Run (or press the corresponding keyboard shortcut).
- You will be asked if you want to build the project. Click “Yes”.
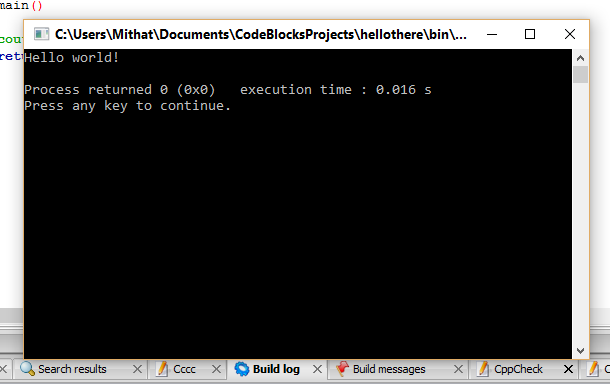
You should see some information about the building process in the lower panel, and after a short time you should see a terminal window that says “Hello world!” on the first line and “Press any key to continue” on the last line. Pressing any key will close this window.